





הוספת כתובות חלופיות ודומיינים משלך
Create extra addresses that deliver to your mailbox, and send and receive mail on a domain you own.
An alias keeps your main address private. Give a different alias to each shop, newsletter, or forum. If one starts receiving spam, turn it off or delete it, and your other addresses keep working.
Create an alias
- Go to Settings > Aliases, and stay on the Aliases tab.
- Click Create Alias.
- Enter a name, and choose a domain. Use letters, numbers, dots, underscores, and hyphens. To let Aster choose a name, select Words or UUID, and then click the refresh button next to it.
- Optional: Enter a Display name (optional) that recipients see, and a Note (optional) that reminds you where you used the alias.
- Click Create Alias.
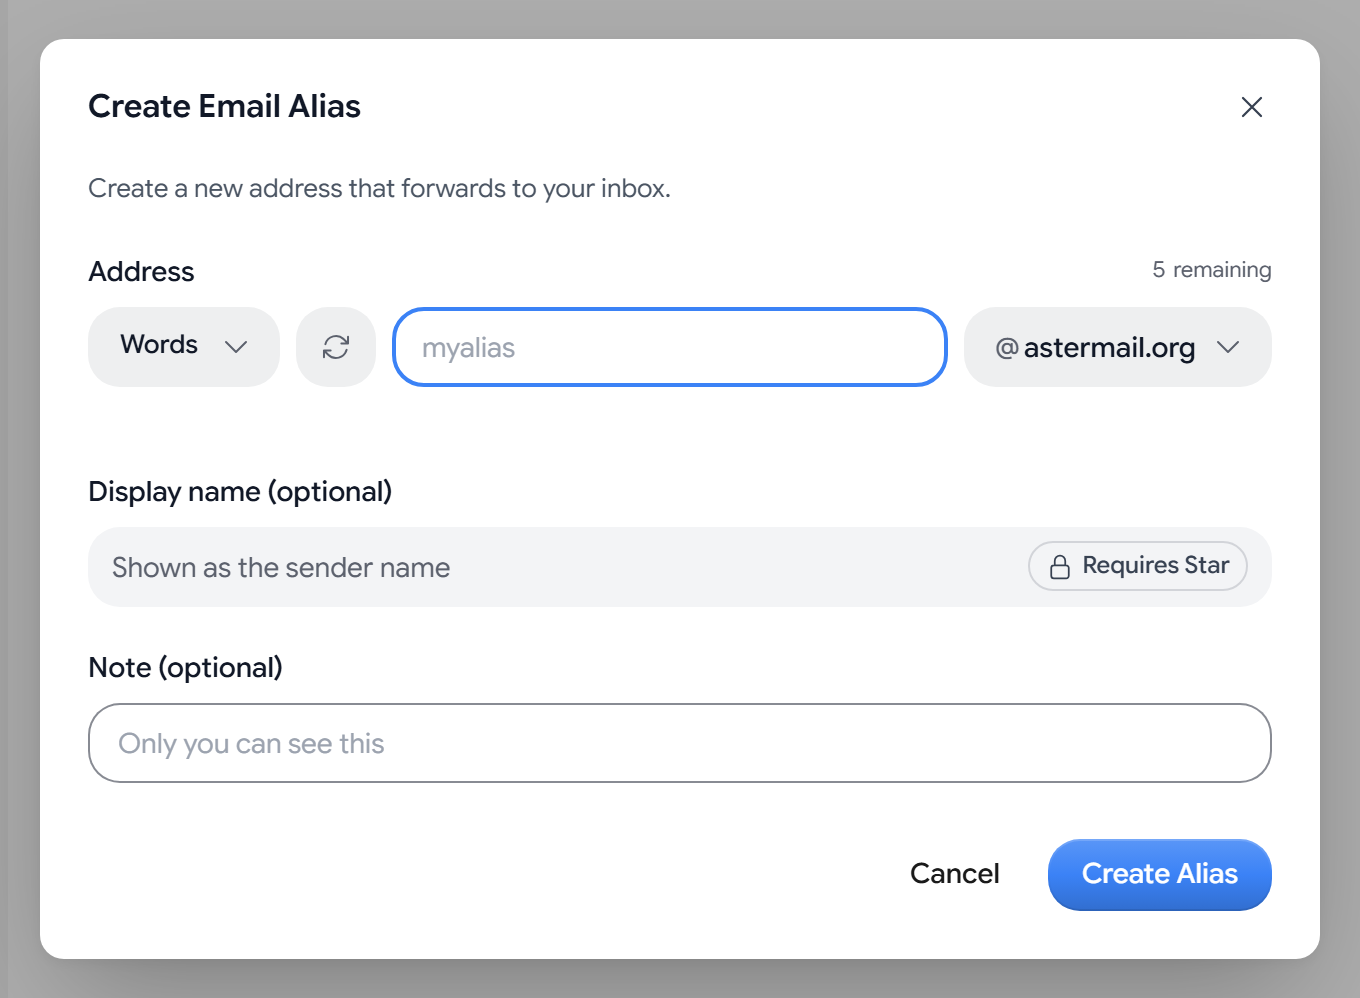
The alias appears in your list, and you can choose it in the From field when you write a message. The Address field shows how many aliases you have left. Free includes 5 aliases and Star includes 15. Nova, Supernova, Duo, and Family have no limit. Addresses on a domain you own count toward the same total.
On Android, go to Settings > Aliases, and then tap Create Alias.
Control where an alias delivers
To change an alias’s settings, click Advanced settings on the alias.
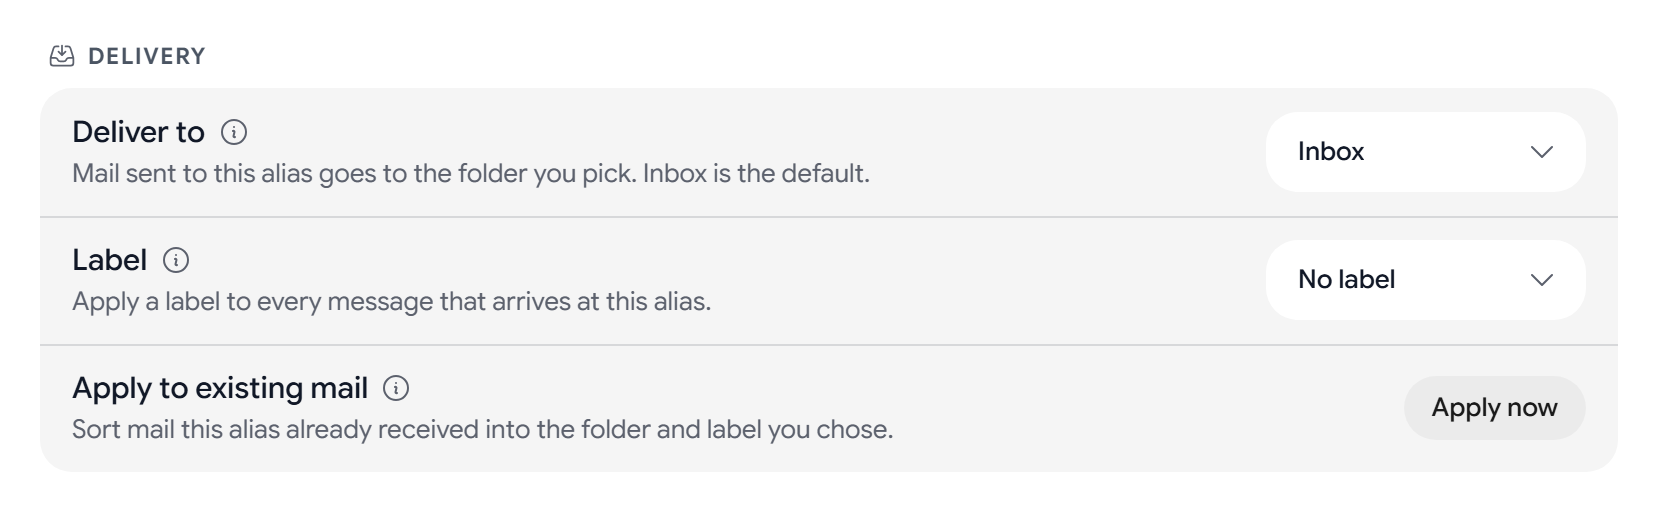
- Delivery: In Deliver to, choose the folder that receives the alias’s mail. You can also choose a Label. If one of your mail rules moves the same mail, Aster tells you which rule takes over.
- Sender pinning: Choose who can reach the alias. Off accepts mail from anyone. Lock to first sender accepts only the first sender that writes to the alias. Allowlist accepts only the senders you add.
- Rules: Block, trash, or label mail based on the sender or the subject.
- Blocked mail log: See mail that the alias blocked before it reached your inbox. Aster keeps the log for 30 days.
- Stats: See how much mail the alias received, forwarded, blocked, and replied to.
To stop an alias from receiving new mail without deleting it, turn it off. Mail that already arrived stays in your mailbox. By default, Aster silently ignores new mail sent to a turned-off alias. To bounce it instead, open the Preferences tab and set Response to blocked mail to Reject (bounce).
Delete an alias
You can delete an alias on an Aster domain 30 days after you create it. On Supernova and Family, you can delete an alias on an Aster domain at any time. On every paid plan, you can delete an alias on your own verified domain right away.
By default, a deleted alias moves to Recently deleted, where you can Restore it for 30 days. To remove aliases immediately instead, open the Preferences tab and set When deleting an alias to Delete immediately.
Use a ghost alias
A ghost alias is a temporary address for a single sign-up or conversation. When you write a message, open the From menu, choose how long the address lives (7d, 30d, or 90d), and click Create Ghost Alias. Aster sends from a new disposable address, and your real address stays hidden. The default lifetime is 30 days.
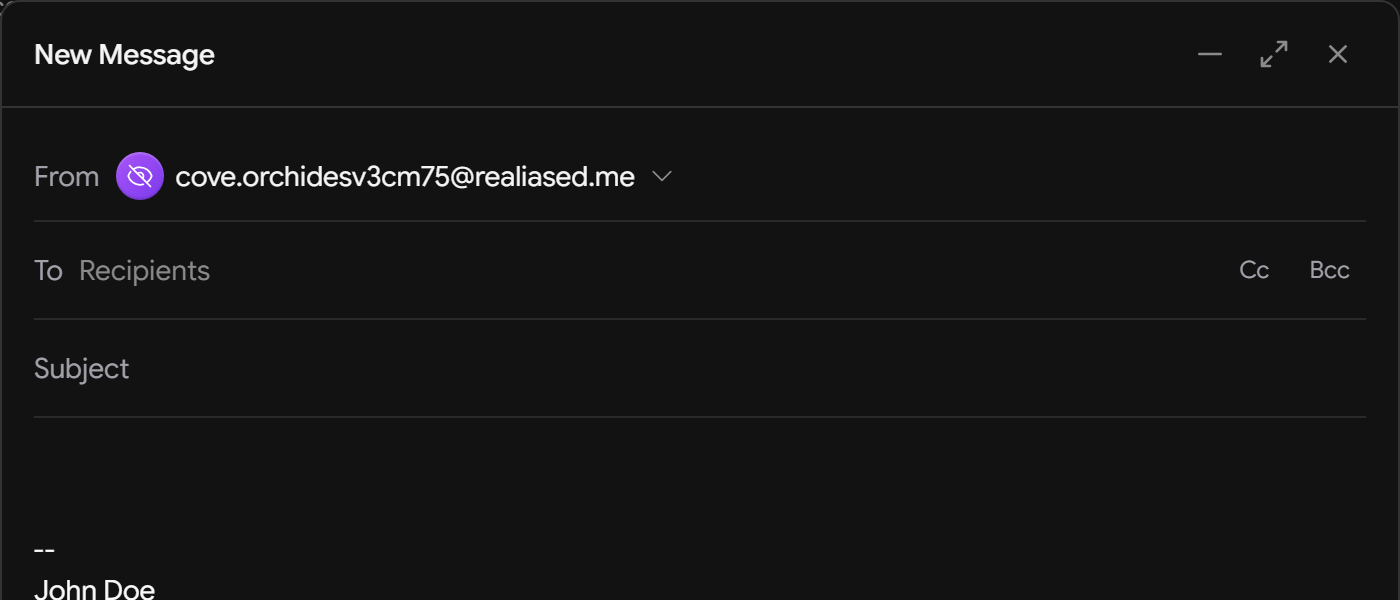
Ghost aliases expire on their own. To manage them, open the Ghost Aliases tab in Settings > Aliases. Each one shows how many days it has left.
- To keep a ghost alias longer, click Extend. A ghost alias lasts at most 90 days.
- To end one early, click Expire. A new ghost alias stays live for 30 days before you can expire it, unless you’re on Supernova or Family.
On the Free plan, you can create 5 ghost aliases per calendar month. On Star, you can have up to 25 active ghost aliases at a time. Nova, Supernova, Duo, and Family have no limit.
Use a domain you own
-
Go to Settings > Domains.
-
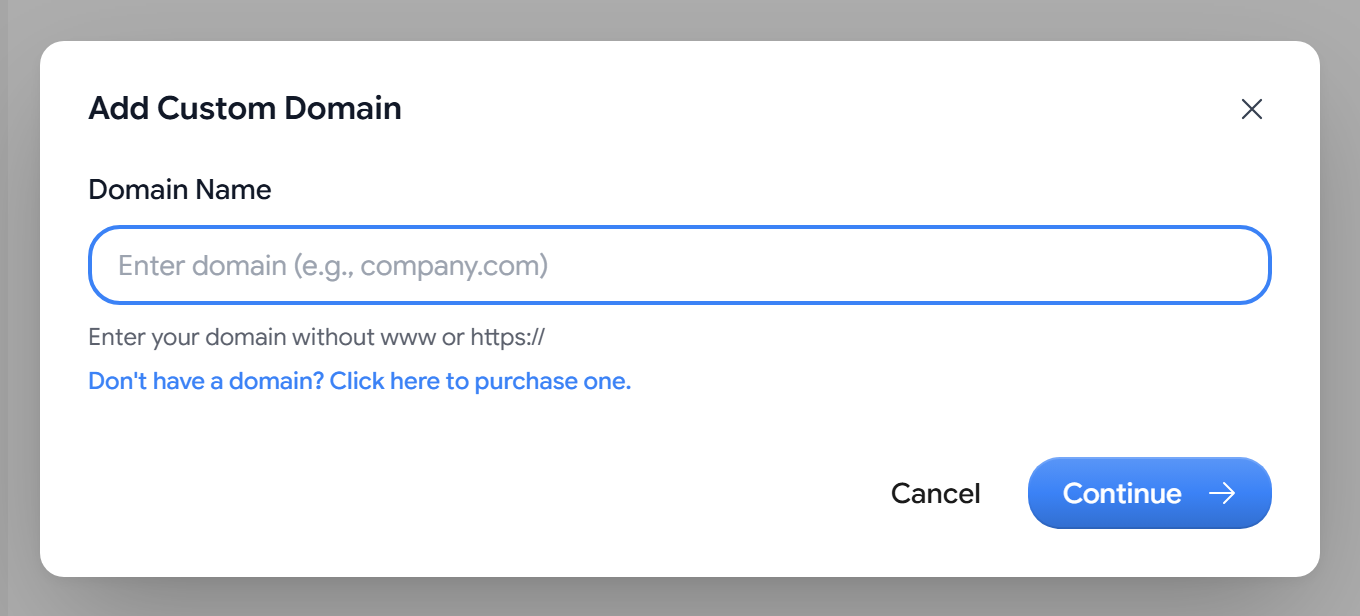
Click Add a domain you own, and enter your domain.
-
Add each DNS record that the setup wizard shows at your DNS provider.
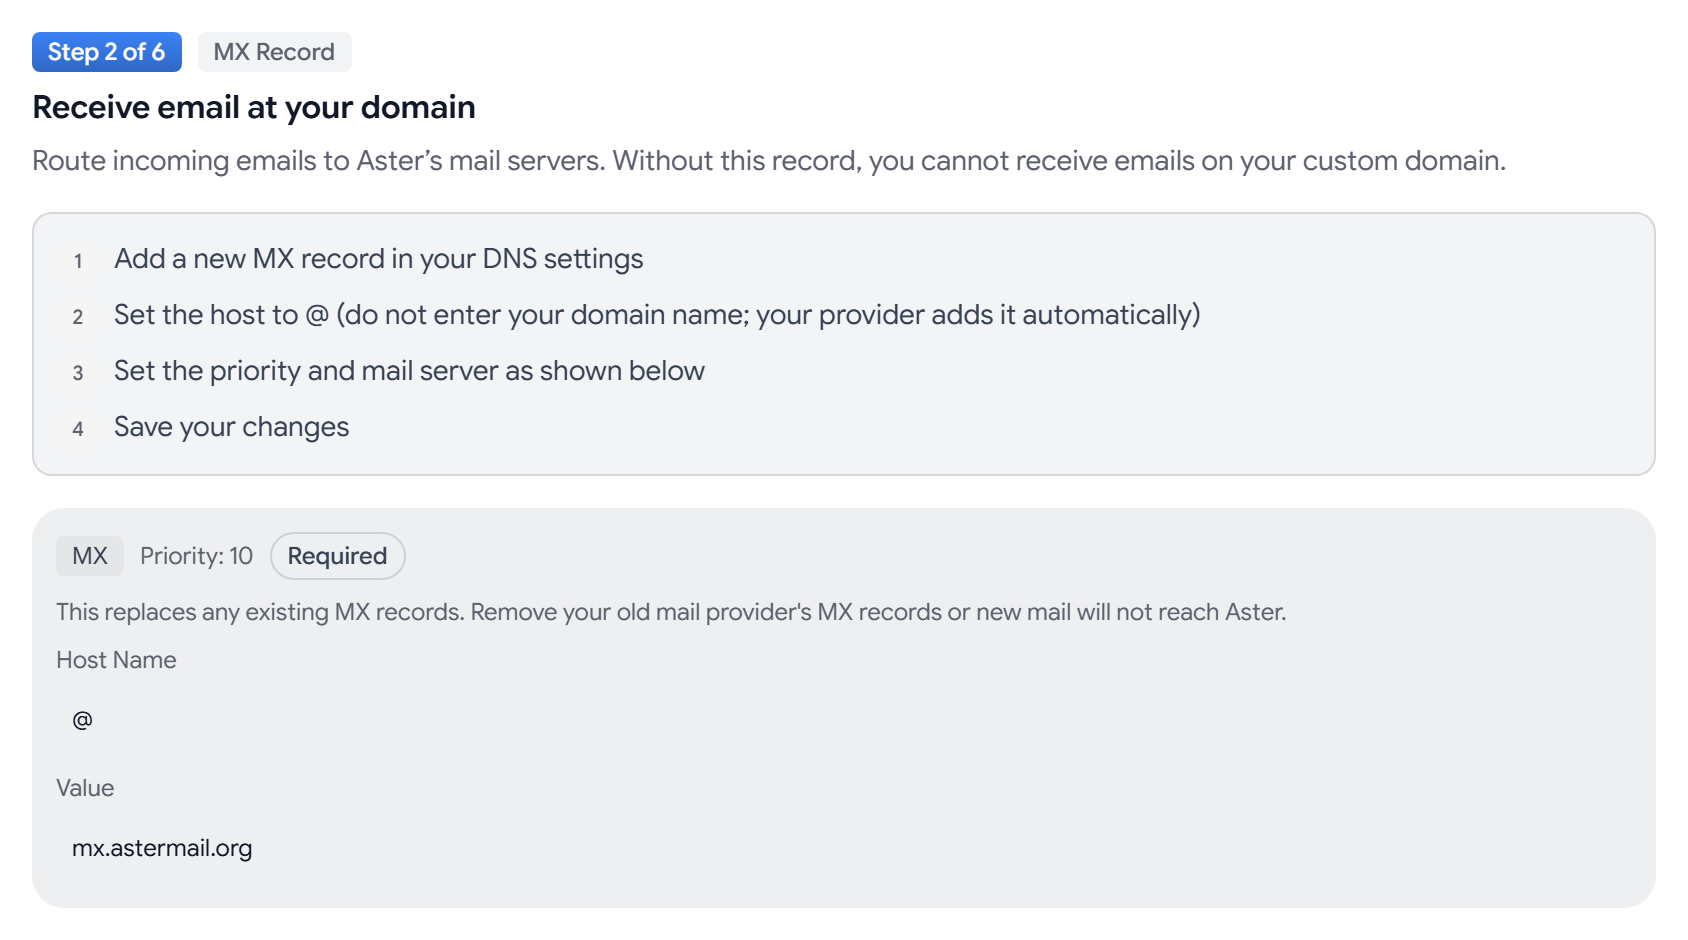
-
Click Verify All Records. If you leave before you finish, click Continue Setup on the domain to return.
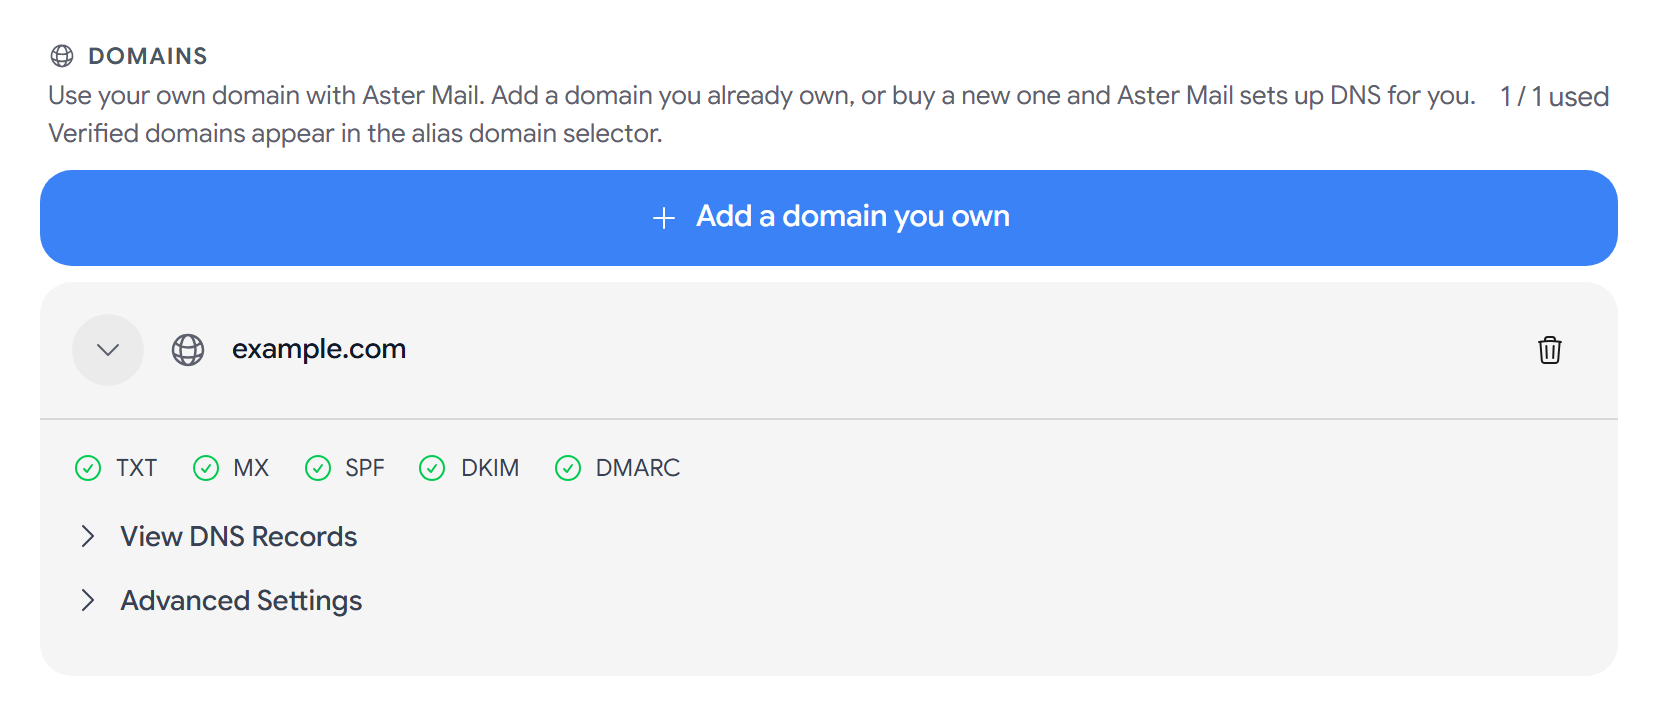
After Aster verifies the domain, create addresses on it and send from them like any other address. For details on each record, see SPF, DKIM, and DMARC for your domain.
After you delete a domain, you can’t add it back for 30 days.
Buy a domain through Aster
-
Go to Settings > Domains, and click Buy a new domain.
-
Search for the name you want, and choose a result.
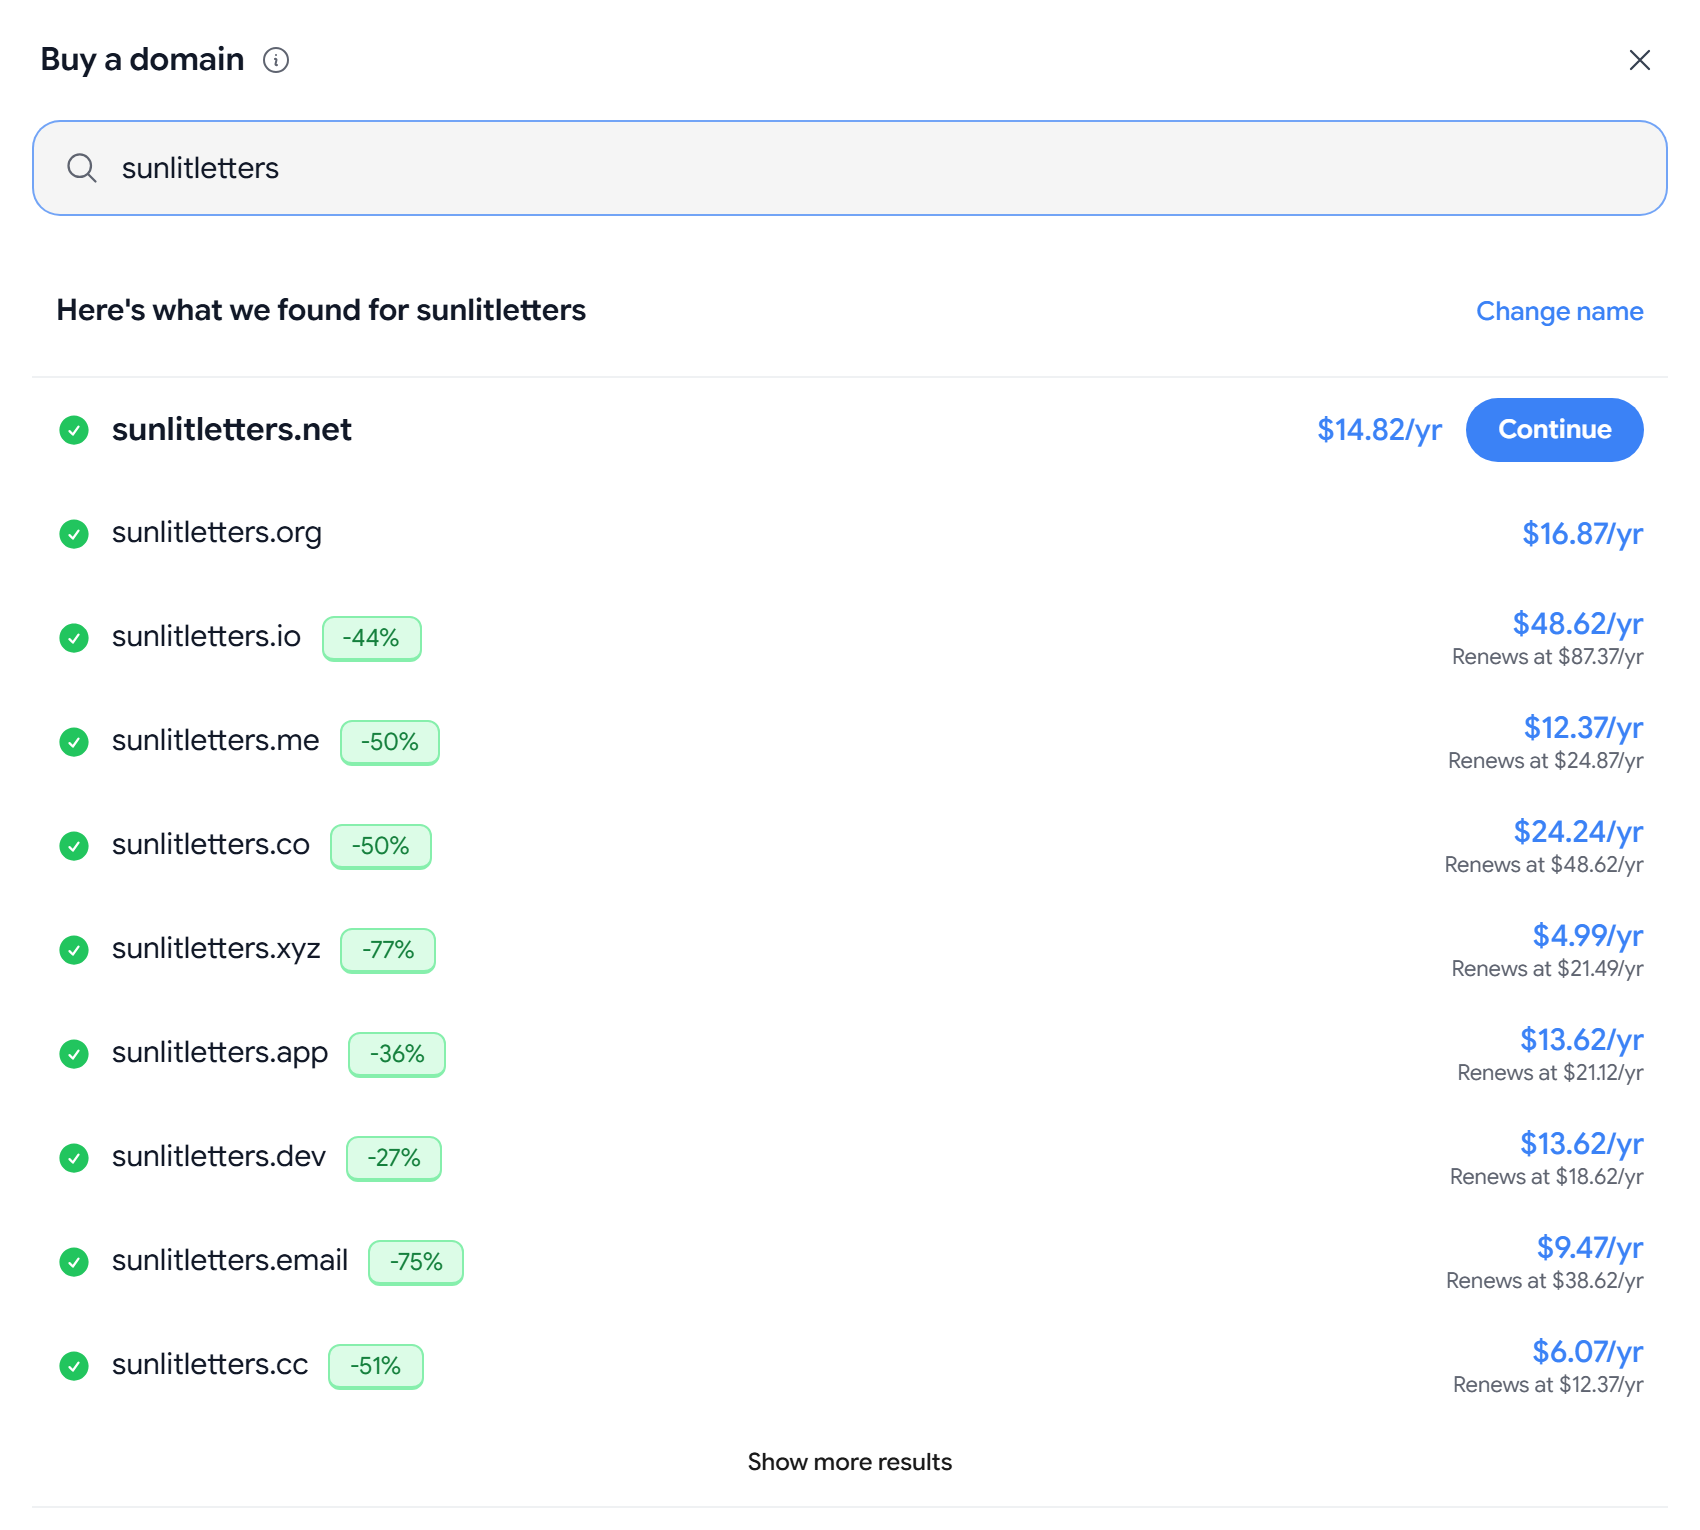
-
Choose a Registration period, and in Pay with, choose Card or Crypto. A crypto order draws on your Aster crypto balance, so add funds before you buy.
-
Click Buy for the price shown. Aster registers the domain, sets up its DNS, and activates the mailboxes.
Every domain you buy through Aster comes with WHOIS privacy, and Aster sets up its mail DNS records for you.
Related articles
המאמר הזה עזר לך?