





Categorias da caixa de entrada
To set up inbox categories, go to Settings > Reading & Conversations > Categories and turn on the tabs that you want. Categories sort your incoming mail into tabs such as Deals, Social, and Notifications.
Sorting happens on your device, and your categories are never sent to the server.
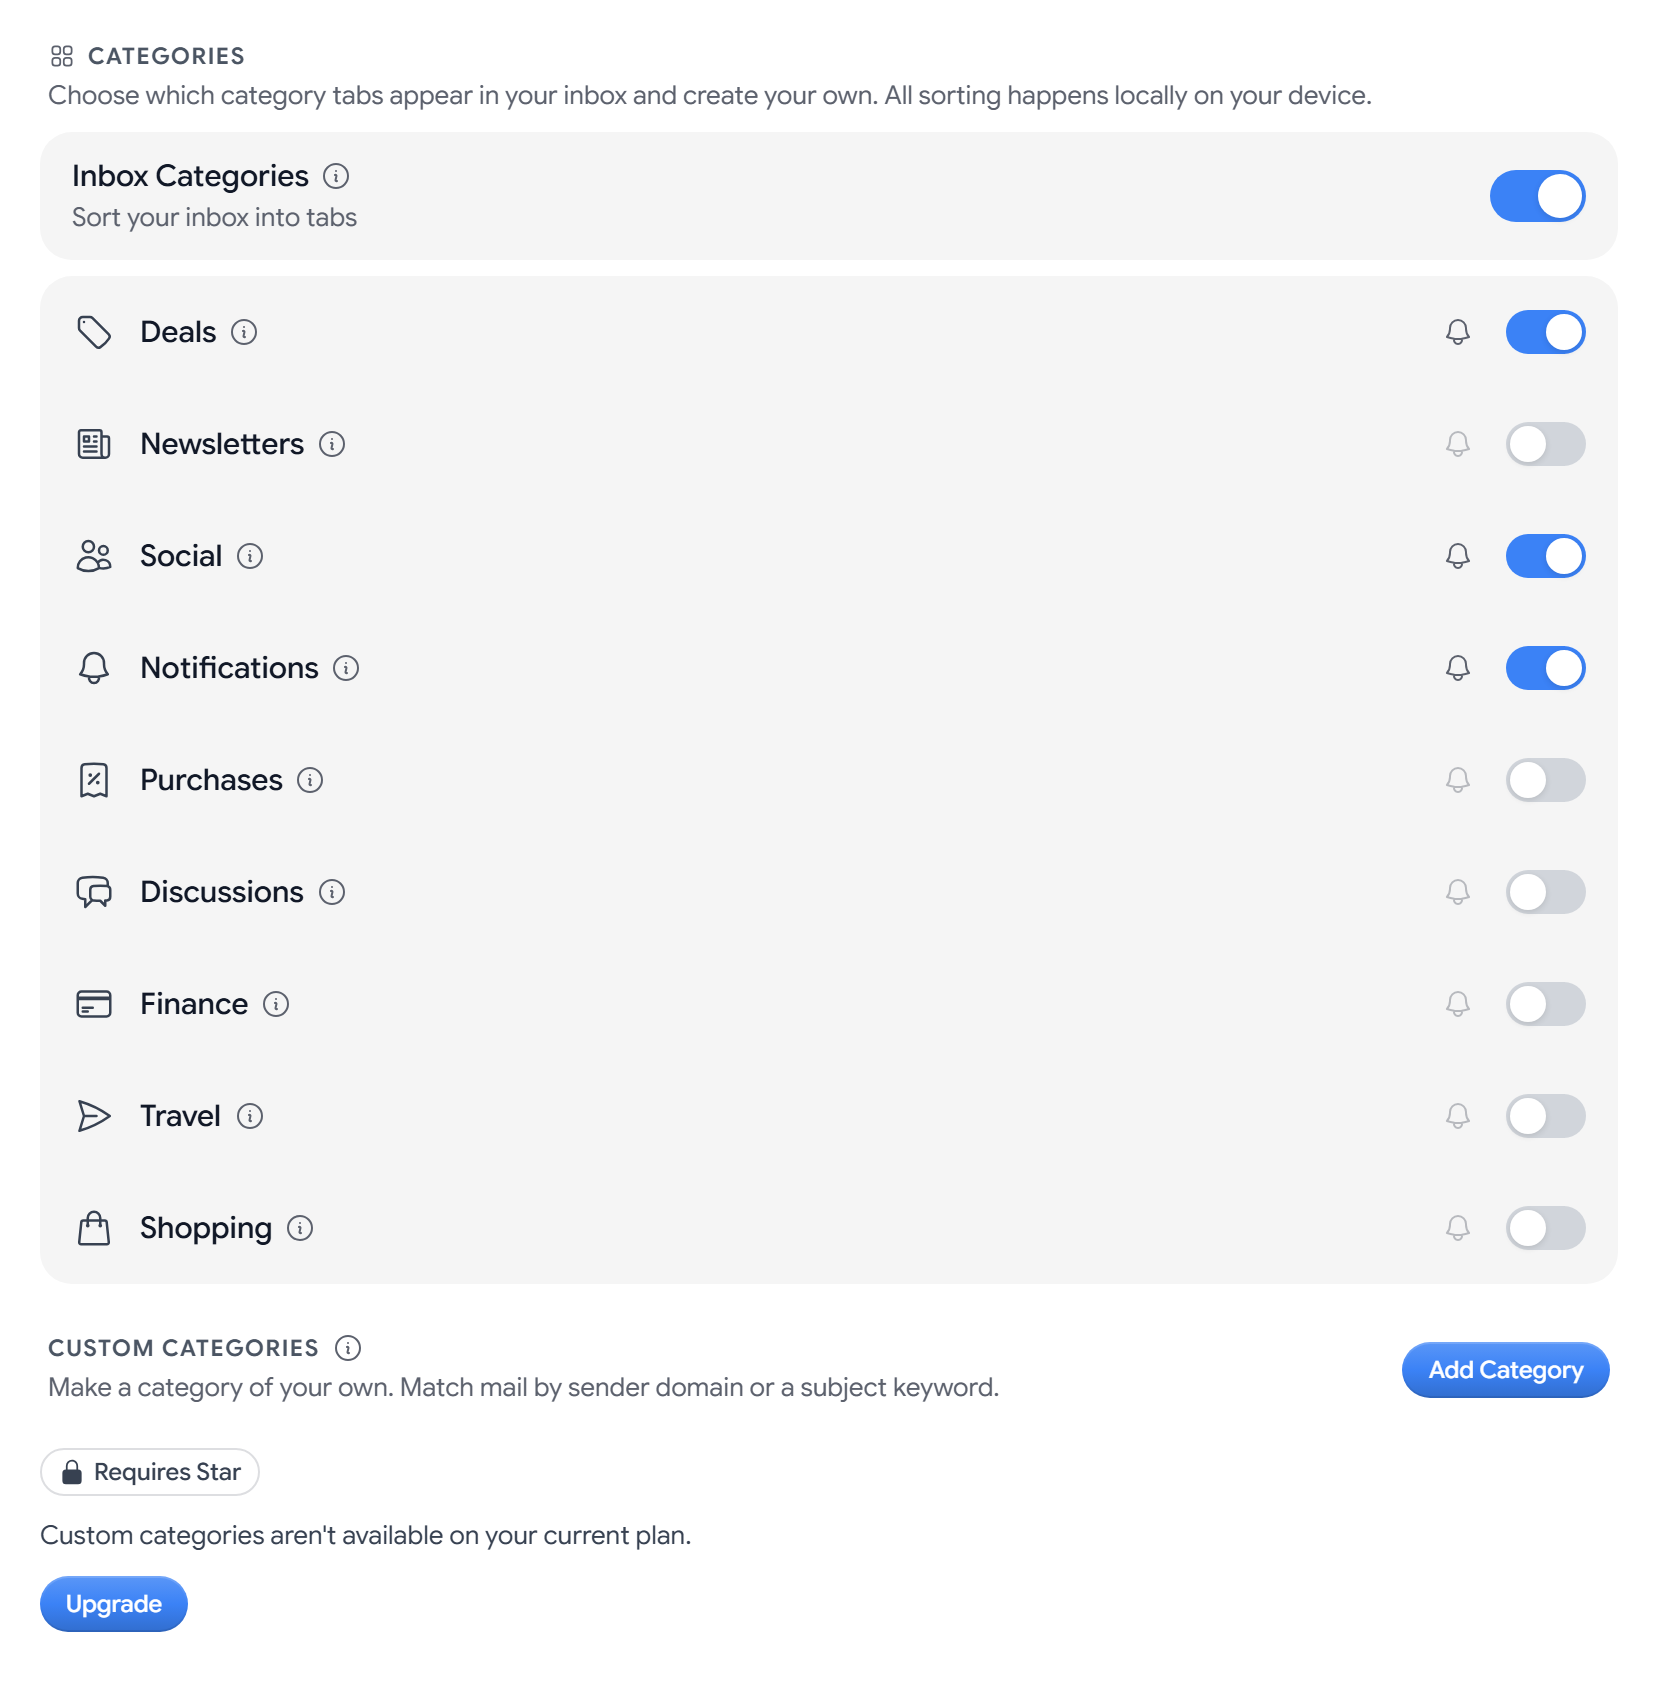
Turn categories on or off
Inbox Categories is on by default. If you turn it off, all of your mail shows in one inbox list. You can also change it from the quick settings panel in the inbox.
Choose which tabs show
Each category has its own switch, and you can scroll the list to see Travel and Shopping. If you turn a category off, its mail moves into a broader tab and does not disappear.
| Category | What it sorts | On by default | Turned off, goes to |
|---|---|---|---|
| Deals | Marketing emails, offers, and deals | Yes | Inbox |
| Newsletters | Digests and mailing lists | No | Deals |
| Social | Social networks and communities | Yes | Inbox |
| Notifications | Receipts, confirmations, and service notices | Yes | Inbox |
| Purchases | Orders, payments, and store receipts | No | Notifications |
| Discussions | Mailing lists, forums, and groups | No | Notifications |
| Finance | Statements, invoices, and bank alerts | No | Notifications |
| Travel | Bookings and itineraries | No | Notifications |
| Shopping | Order confirmations and shipping updates | No | Deals |
The Inbox tab holds everything that does not match another category, and it is always on.
Mute notifications for a category
Select the bell icon next to a category to mute it, and select it again to unmute it. Muting a category does not hide its tab or its mail.
Create a custom category
Custom categories sort mail by sender domain or subject keyword, and Aster will always check them before the built-in ones. Custom categories are on the Star plan and up.
- Under Custom Categories, select Add Category.
- Enter a Name of up to 40 characters, and choose an Icon and a Color.
- In Match sender domains, enter domains separated by commas, such as
example.com. - In Match subject keywords, enter words separated by commas, such as
newsletter, digest. - Check the Preview, and select Create.
Each category needs at least one domain or keyword, and each list holds up to 25 entries. The number of custom categories that you can create depends on your plan.
Manage custom categories
- Pausing. Turn off its switch to stop it sorting without deleting it.
- Editing. Select the pencil icon, make your changes, and select Save.
- Deleting. Select the trash icon and then Delete. This can’t be undone.
- Locked categories. If your plan changes and you have more custom categories than it includes, the extra ones show Locked and stop sorting mail.
Related articles
Este artigo foi útil?